
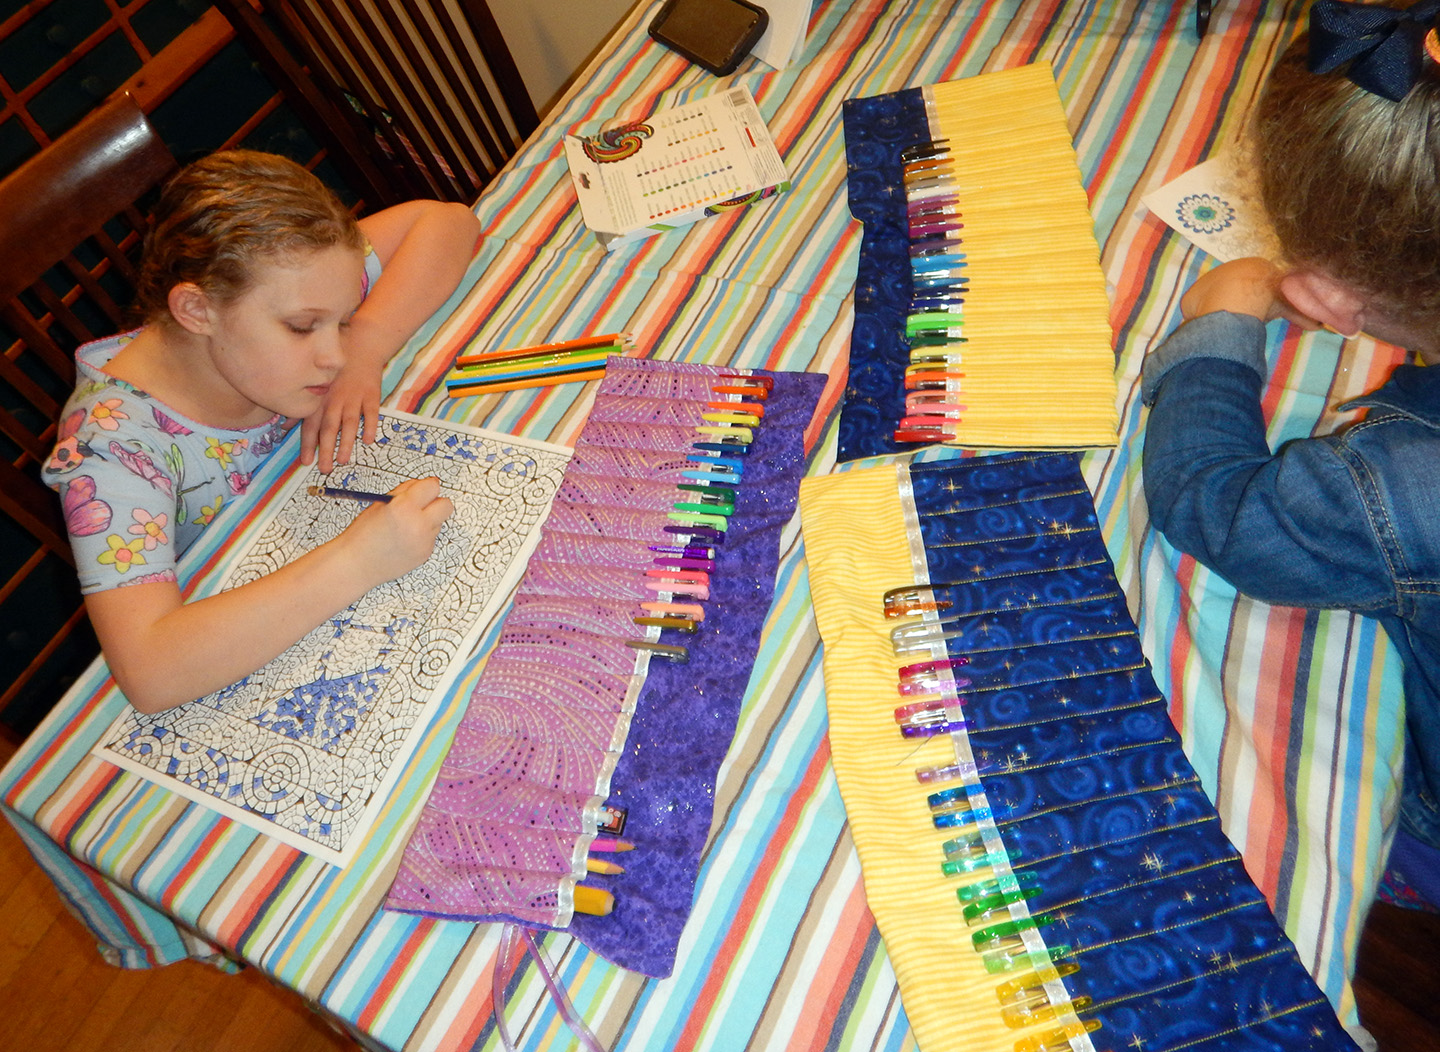
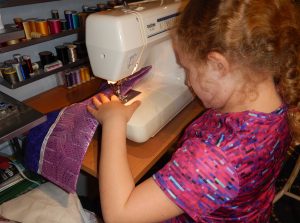
Looking for something fun to do on a rainy day or snowy day? This sewing project is engaging and won’t break the bank! This project is a winner all around because it will:
- Entertain your kids for at least an hour or more
- They will learn beginning sewing
- The end result will organize their pens, pencils or brushes and probably more
- You can choose from all of the wonderful patterns and colors available in fat quarters
- It won’t break the bank or take up a lot of space
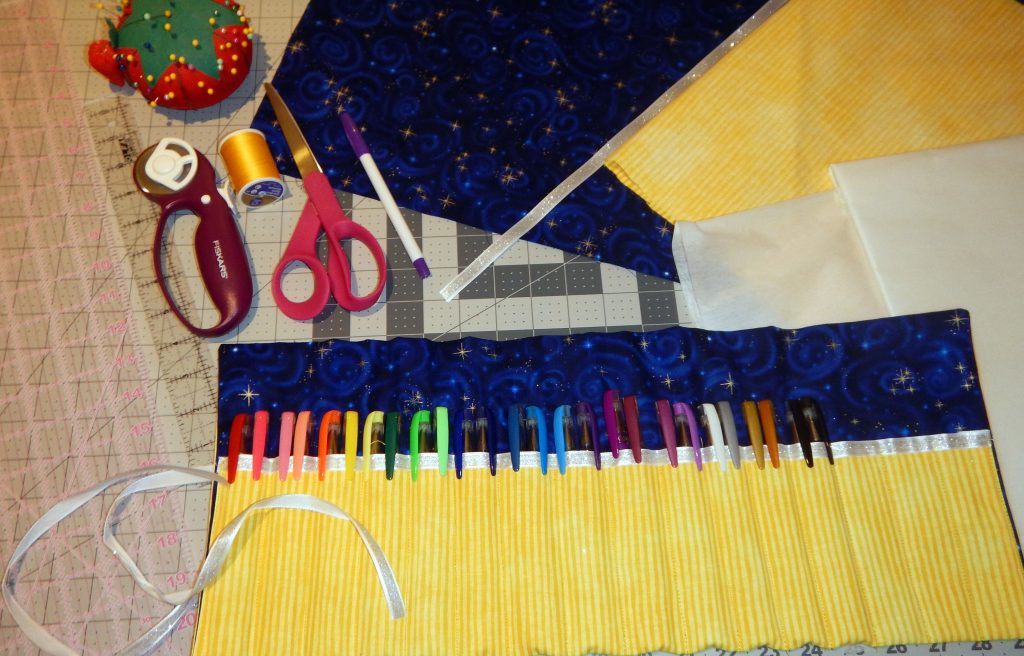
What you need:
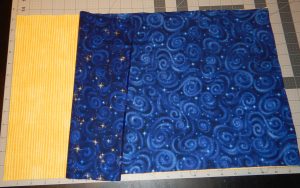
- 2 Fat Quarters (~$5)
- 1/2 yd Interfacing (~$1.50)
- Contrasting or Matching thread ($1.5 – $6 depending on what you choose or some thread you already own)
- Fabric Ribbon 3/8″ – 5/8″ ($1 – $5 or ribbon you already have)
- The items you will be storing in the finished project
- A sewing machine
- Scissors or rotary cutter and mat
- A fabric marker or tailor’s chalk
- Ruler/measuring tape
- Straight pins
All in all, if you already have thread the the last six items above, you should be able to make this project for less than $10 especially if you have a coupon. And with the price of entertainment these days, $10 for two hours of an occupied child is priceless.
My kids chose contrasting colors and patterns for some very fun results for a very small investment.
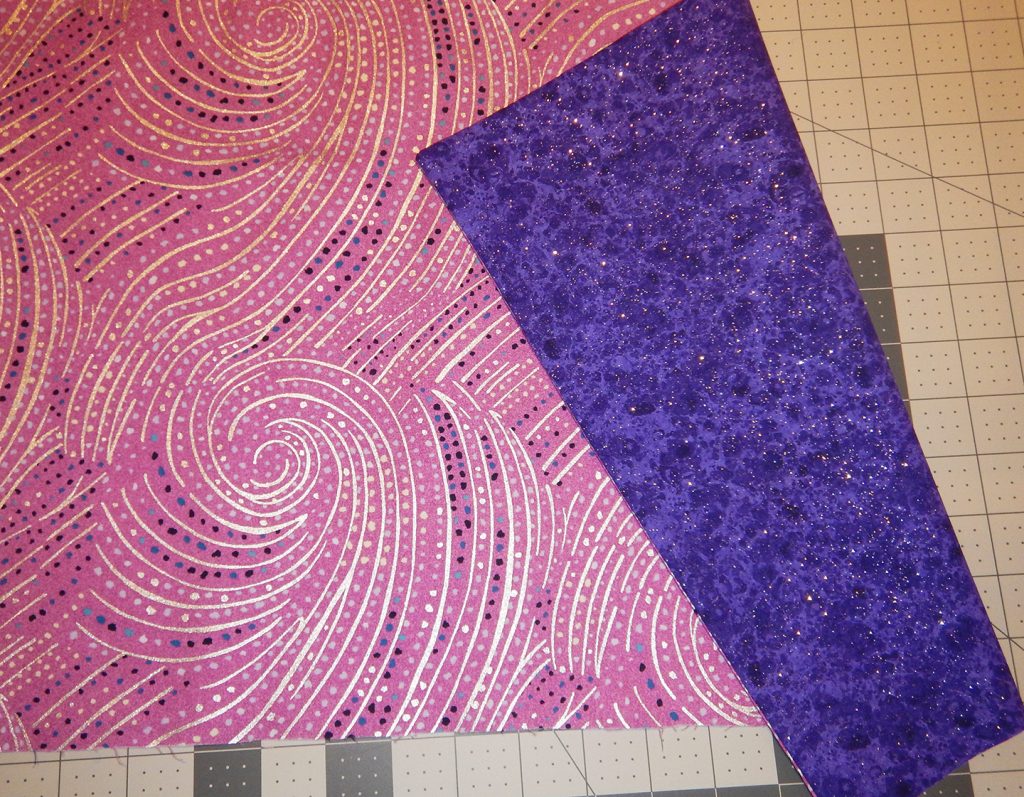
The second fat quarter fabric combination:
Okay, let’s get down to making!
Step 1: Finalize Your Design
Figure out your sizing and whether or not you want to have “flap” to fold over the top of your pens, pencils or brushes. We decided we didn’t need it because the pens we were making these rolls for had clips which kept them securely in the roll. So we only used 14″ x 22″ of the 18″ x 22″ fat quarters we choose. We came to this sizing by measuring the pens and determining how large the pen pocket needed to be for the pen lid clips to fit over the top of the pocket securing them in the pen roll.
Step 2: Cut your fabric to size
If your design calls for cutting down the size of your fat quarters, cut it down and then place the right sides of the fabric together.
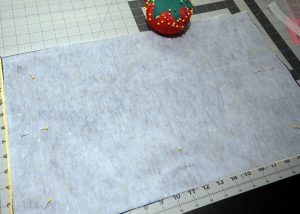
Step 3: Add Interfacing
Cut interfacing to size and then pin all three pieces together along the two short sides and one long side. There are two reasons to use interfacing:
- When using a lighter color (yellow) with a darker color (blue) the interfacing prevents the yellow from seeming dingy when it is directly against the darker color.
- Usually pen, pencil and brush rolls are made with canvas and other “stiffer” fabrics, so I chose to add the interfacing to make the finished rolls more durable.
Step 4: Edge Sewing
Using a straight stitch, sew the three pinned sides together with a 1/4 – 1/2″ seam allowance. Don’t forget to back stitch at the beginning and the end.
Step 5: Right Side Out
Snip the excess from the sewn corners without getting too close the the stitches and turn the fabric right side out. Use something pointy (I usually use the scissors) to push the corners out.
Step 6: Close the 4th edge
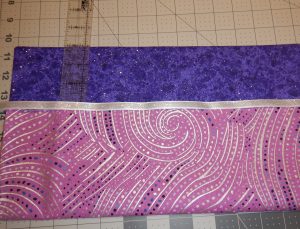
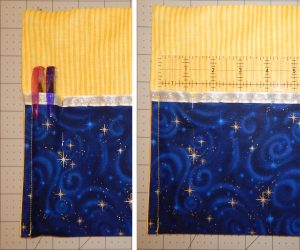
Measure the ribbon to be about 1.5 inches longer than the width of the fabric. It will be used to close the open side of the fabric and provide a decorative edge to the pen pocket. Determine which fabric pattern you want to be the outside and which will be the inside and fold it over to determine on which side the ribbon needs to be facing forward. In the example below the blue swirls is the front and the yellow stripes is the back side.

Fold over about 1/4 – 1/2 inch of the ribbon around the backside and secure the ribbon with a straight stitch while also closing the unfinished side of the fabric. It is easier to sew with the wrong side facing up to ensure that the ribbon edge can be seen from the other side as you sew and to be sure you are also sewing the seam shut while attaching the ribbon.
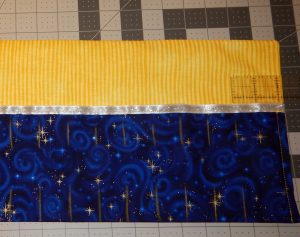
Step 7: Sew the pocket edges
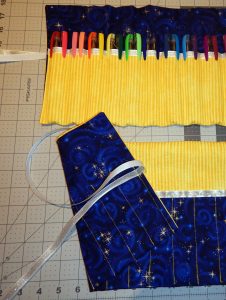
In step 6 the photo also shows the height of the pocket; my kids determined 5″ based on the size of their gel pens – after attaching the ribbon sew the two outer sides from the ribbon to the bottom. I scooted in the seam about 1/4″ in because it is difficult to sew with 6 layers of fabric.
Step 8: Measure the width of the pen slots
I measured the width to sew the pen slots by putting 2 pens in the pocket and then pinning through the front and back fabric. When you remove the items you’re planning to store, lay the fabric flat and measure where the pin is. This is the measurement to use to mark the pockets across the fabric. At the end I left I made two larger slots for some slightly larger items.
Step 9: Sew the Slots
Using a straight stitch, sew from the ribbon to the bottom; be sure to back stitch at the beginning and the end to secure the stitching. I like to use contrasting thread to add a little pizzazz.
Step 10: Finishing Touches
Measure a ribbon that will wrap around your roll when full and then add extra to tie it shut. We attached the ribbon at about center of the length we measured on one of the sides on the exterior side of the roll.
Step 11: Add your things!
Add whatever you want to organize to your roll. And that’s it! You’re ready to create (and clean-up is pretty easy too!)